Create Your Own SVG Bundles from PNGs
Converting PNG images to SVG format can enhance scalability and reduce file sizes, making them ideal for web use. With svgkingdom.com, you can easily transform your PNG files into SVGs and create custom bundles. This guide will walk you through the process, offering practical steps to streamline your workflow.
Why Convert PNG to SVG?
SVG (Scalable Vector Graphics) offers several advantages over PNG:
- Scalability: SVG images remain crisp at any size, perfect for responsive design.
- Smaller File Sizes: SVGs often have smaller file sizes compared to PNGs, improving loading times.
- Editability: SVGs can be easily edited with text editors or design software.
Steps to Convert PNG to SVG Using SVG Kingdom
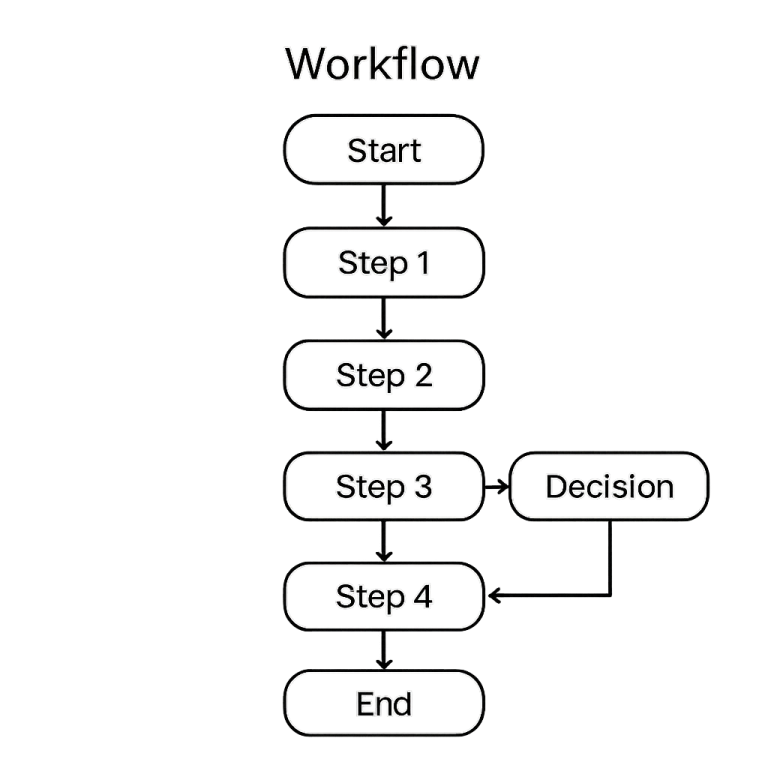
- Visit SVG Kingdom: Navigate to svgkingdom.com/png-to-svg/.
- Upload Your PNG: Click the upload button and select the PNG file you wish to convert.
- Adjust Settings: If necessary, adjust conversion settings to optimize the SVG output.
- Download the SVG: Once converted, download the SVG file to your device.
Creating SVG Bundles
After converting your PNGs to SVGs, you may want to create bundles for easy management and distribution. Follow these steps:
- Organize Your SVG Files: Collect all your SVG files into a single directory.
- Use a Zipping Tool: Use software like WinRAR, 7-Zip, or built-in OS utilities to compress the directory into a .zip file.
- Label Your Bundle: Name the zip file clearly to indicate its contents.
- Share or Store: Distribute the bundle via email, cloud services, or store it for future use.
Best Practices for SVG Use
- Optimize SVGs: Use tools like SVGO to minimize file size without losing quality.
- Maintain Consistency: Keep a consistent style across all SVGs for a cohesive look.
- Test Across Devices: Ensure your SVGs render correctly on different devices and browsers.
Conclusion
Converting PNGs to SVGs using svgkingdom.com is a straightforward process that enhances your digital assets. By creating SVG bundles, you can efficiently manage and distribute these assets, ensuring they are ready for any project. Follow the steps outlined above to streamline your workflow and make the most of your graphic resources.