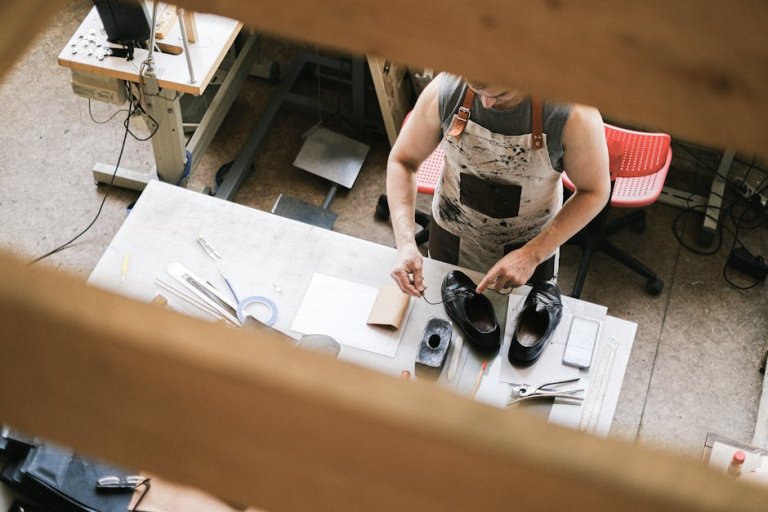
Understanding Multi-Layer Design Assembly
Assembling multi-layer designs can seem daunting, but with the right approach, it becomes a manageable task. Whether you’re working on a printed circuit board (PCB), a fabric project, or a digital design, the principles of layering remain consistent. This guide will walk you through the essential steps to efficiently assemble multi-layer designs.
Step 1: Gather Your Materials and Tools
Before you begin, ensure you have all necessary materials and tools at hand. Here’s a basic checklist:
- Design plans: Ensure you have detailed schematics or patterns.
- Materials: Gather all layers of materials, such as fabrics, PCB substrates, or digital files.
- Tools: Depending on your project, you might need scissors, soldering iron, adhesive, or software tools.
Step 2: Prepare Each Layer
Preparation is key to a successful assembly. Follow these steps to prepare each layer:
- Inspect materials: Check for any defects or inconsistencies.
- Cut to size: Ensure each layer is cut to the correct dimensions.
- Label layers: Clearly label each layer to avoid confusion during assembly.
Step 3: Align Layers Accurately
Accurate alignment ensures the functionality and aesthetics of the design. Use alignment tools such as:
- Alignment pins: For physical projects, these help keep layers in place.
- Software guides: Use digital alignment guides for virtual designs.
- Templates: Create or use existing templates to ensure precision.
Step 4: Secure the Layers Together
Once aligned, it’s time to secure the layers. The method will vary depending on the project type:
- Adhesive: Use glue, tape, or other adhesives for fabric or paper projects.
- Soldering: For PCBs, solder the layers together carefully to avoid short circuits.
- Digital merging: In digital design, use software tools to merge layers seamlessly.
Step 5: Test and Adjust
After securing the layers, it’s crucial to test the assembly:
- Functionality check: Ensure the assembled project functions as intended.
- Visual inspection: Check for any misalignments or defects.
- Adjustments: Make necessary adjustments to correct any issues.
Step 6: Finalize and Protect
Once satisfied with the assembly, take steps to protect and finalize your design:
- Protective coating: Apply a finish or sealant to protect the layers.
- Documentation: Document the process and any changes for future reference.
- Storage: Store the assembled project in a safe, secure location.
Conclusion
Assembling multi-layer designs requires careful planning and execution. By following these steps, you can ensure your project is both functional and visually appealing. Remember, attention to detail at every stage of the process is crucial to success.