How to Convert Images into SVG Files for Cricut
Creating custom designs with your Cricut machine can be incredibly rewarding. One of the key steps in this creative process is converting images into SVG files, which are compatible with Cricut Design Space. This guide will walk you through the process of turning your images into SVG files smoothly and efficiently.
What is an SVG File?
SVG (Scalable Vector Graphics) is a file format that describes images using vectors. Unlike raster images, SVG files can be scaled infinitely without losing quality, making them ideal for cutting machines like Cricut.
Tools You’ll Need
- Image Editing Software: Programs like Adobe Illustrator or Inkscape can create and edit SVG files.
- Cricut Design Space: This is the software where you upload and cut your SVG designs.
Step-by-Step Guide to Convert Images to SVG
1. Choose the Right Image
Select an image with clear lines and minimal colors for the best results. Complex images may not translate well into SVG format.
2. Use Image Editing Software
Open your chosen image in a vector graphics editor. Below are steps for two popular programs:
Adobe Illustrator
- Open your image in Illustrator.
- Use the Image Trace feature to convert the image to a vector. Adjust the settings for the best result.
- Expand the traced image to convert it into vector paths.
- Save the file as an SVG by selecting File > Save As and choosing SVG as the format.
Inkscape
- Open your image in Inkscape.
- Go to Path > Trace Bitmap to convert the image to a vector.
- Adjust the settings and apply the changes.
- Save the file as an SVG by selecting File > Save As and choosing SVG as the format.
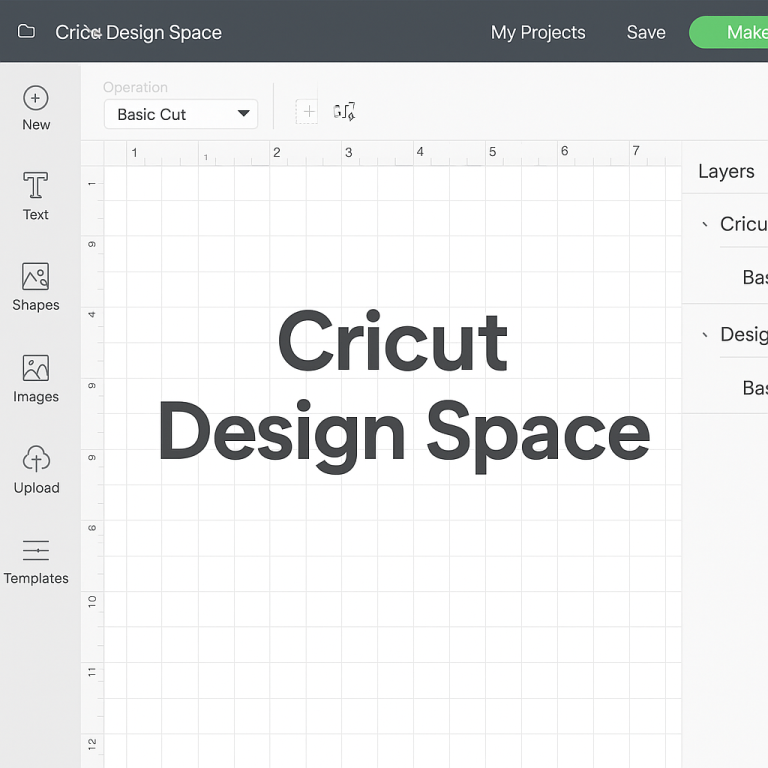
3. Upload to Cricut Design Space
Once you have your SVG file, it’s time to upload it to Cricut Design Space:
- Open Cricut Design Space and create a new project.
- Click on Upload from the left-hand menu.
- Select Upload Image, then browse and select your SVG file.
- Once uploaded, you can insert it into your project and adjust the size and placement as needed.
Tips for Best Results
- Simplify Your Design: Simplify complex images before converting them to SVG to ensure clean cuts.
- Check for Overlapping Paths: Ensure paths do not overlap to avoid cutting errors.
- Test Cut: Perform a test cut on scrap material to ensure your settings are correct.
Conclusion
Converting images into SVG files for Cricut is a straightforward process that can greatly enhance your crafting projects. By following these steps and tips, you’ll be able to create intricate and personalized designs with ease. Happy crafting!