Introduction to Disney SVG Files
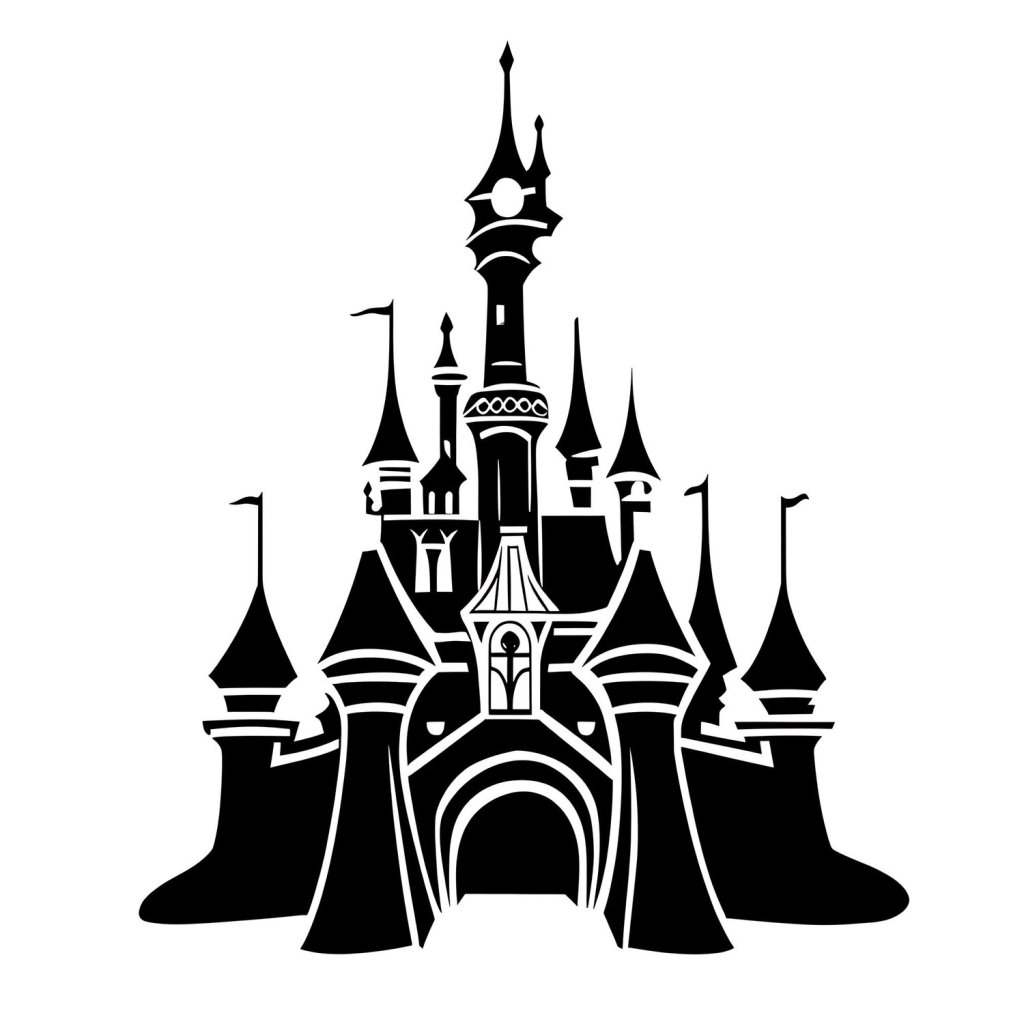
Disney SVG files are a fantastic resource for anyone looking to add a touch of magic to their DIY projects. These scalable vector graphics allow for easy customization and can be used across various crafting techniques, from vinyl cutting to digital design. In this guide, we’ll explore how to effectively use Disney SVG files to create enchanting DIY projects.
What Are SVG Files?
SVG stands for Scalable Vector Graphics. These files are favored for their ability to scale without losing quality, making them perfect for crafting. Unlike raster images, SVGs use mathematical equations to render graphics, ensuring crisp lines and vibrant colors at any size.
Where to Find Disney SVG Files
There are numerous sources where you can find Disney SVG files:
- Etsy: A marketplace with a wide variety of unique Disney SVG files created by independent designers.
- Creative Fabrica: Offers a subscription service with access to thousands of SVG files, including Disney-themed designs.
- Design Bundles: Frequently features themed collections and deals on SVG files.
- Free Resources: Websites like LoveSVG and Freepik occasionally offer free Disney SVG files.
Choosing the Right Software
To work with SVG files, you’ll need compatible software. Here are some popular options:
- Cricut Design Space: Perfect for users of Cricut cutting machines, allowing easy import and manipulation of SVG files.
- Silhouette Studio: Ideal for Silhouette machine users, offering robust design features.
- Adobe Illustrator: A professional-grade tool for detailed editing and customization of SVG files.
- Inkscape: A free, open-source alternative for editing SVG files with a wide range of features.
Steps to Create Magical DIY Projects
Follow these steps to create your own Disney-themed crafts:
1. Select Your Design
Start by choosing a Disney SVG file that fits your project. Consider the size and complexity of the design based on your skill level and the tools you have available.
2. Prepare Your Materials
Gather the necessary materials for your project. This might include:
- Vinyl sheets or paper
- Transfer tape
- Cricut or Silhouette cutting machine
- Heat press or iron (for fabric projects)
3. Import and Edit the SVG File
Open your chosen software and import the SVG file. Here, you can adjust the size, colors, and layers to better suit your project needs. If you’re using a cutting machine, ensure the design is set up correctly for cutting.
4. Cut the Design
Once your design is ready, send it to your cutting machine. Make sure to select the appropriate material settings to ensure precise cuts.
5. Assemble Your Project
After cutting, carefully weed out the excess material. Use transfer tape to apply vinyl designs to surfaces, or follow fabric application techniques if working with heat transfer vinyl.
Tips for Successful Projects
Here are some tips to ensure your Disney DIY projects are a success:
- Test Cuts: Perform a test cut on scrap material to check settings.
- Layering: For multi-layer designs, ensure each layer aligns perfectly by using registration marks.
- Cleaning Surfaces: Clean surfaces thoroughly before applying vinyl to ensure good adhesion.
- Heat Settings: If using heat transfer vinyl, follow recommended heat settings and pressing times for best results.
Project Ideas
Here are some creative Disney-themed project ideas you can try:
- Custom T-shirts: Create personalized Disney shirts for family vacations.
- Home Decor: Design wall art or decals showcasing your favorite Disney characters.
- Party Supplies: Make themed invitations, banners, and party favors for a Disney-themed event.
- Accessories: Craft unique bags, hats, or shoes with Disney motifs.
Conclusion
Using Disney SVG files for DIY projects opens up a world of creativity and fun. Whether you’re a seasoned crafter or a beginner, these files offer endless possibilities to bring a touch of Disney magic into your creations. With the right tools and techniques, you can craft unique, personalized items that delight and inspire.