Improve Your Print Then Cut Results
Print Then Cut is a fantastic feature for creating precise and professional-looking crafts using your cutting machine. However, achieving the best results requires some attention to detail and a few handy tips. Here’s a concise guide to help you enhance your Print Then Cut projects.
Choose the Right Materials
- Printable Material: Use high-quality printable materials specifically designed for Print Then Cut. Glossy or matte paper can affect the final appearance, so choose based on your project needs.
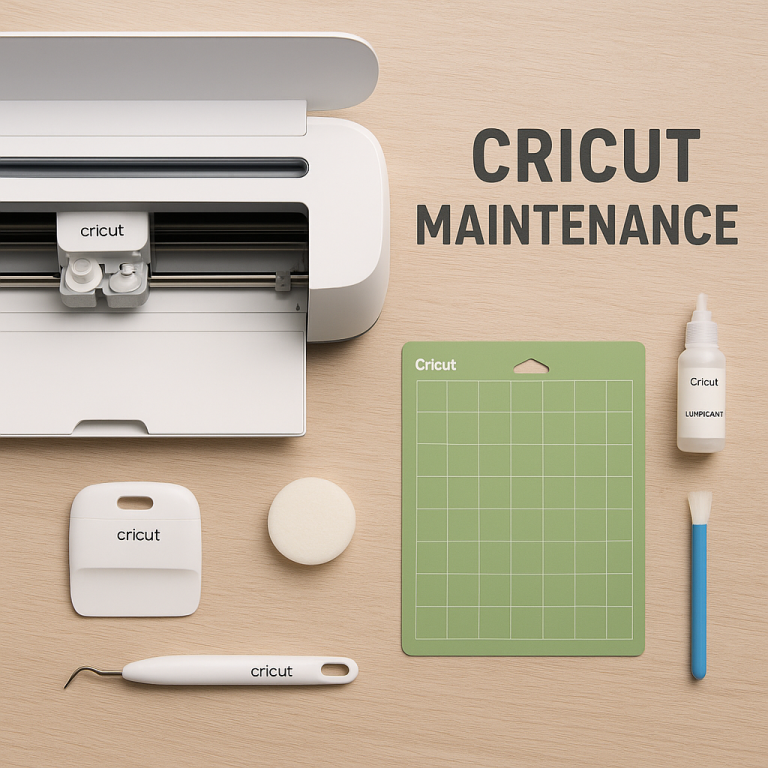
- Cutting Mat: Ensure your cutting mat is clean and sticky enough to hold your material firmly in place during cutting.
Optimize Printer Settings
- Color Accuracy: Calibrate your printer for color accuracy to ensure the printed colors match your design.
- Print Quality: Set your printer to the highest quality setting for the best print results.
- Paper Type: Select the correct paper type in your printer settings to match the material you are using.
Design with Precision
- Bleed Option: Enable the bleed option in your design software to prevent white edges around your images.
- Image Resolution: Use high-resolution images to ensure clear and sharp prints.
- Registration Marks: Ensure your design includes registration marks for accurate cutting alignment.
Calibration and Machine Setup
- Machine Calibration: Regularly calibrate your cutting machine to maintain alignment accuracy.
- Blade Settings: Adjust the blade depth and pressure settings according to the material’s thickness.
Test and Adjust
- Test Cuts: Perform test cuts on a small piece of material to ensure settings are correct before proceeding with your full project.
- Lighting Conditions: Work in well-lit conditions to help your machine’s sensor read registration marks accurately.
Additional Tips
- Storage: Store your printed materials flat to prevent warping or bending, which can affect cutting accuracy.
- Handling: Avoid touching the printed area to prevent smudging, especially if using inkjet prints.
By following these tips, you can significantly enhance your Print Then Cut results, leading to more precise and professional-looking crafts. Experiment with different settings and materials to find what works best for your projects.