Understanding Correct Cut Settings for SVG Designs
When working with SVG designs, especially in crafting and digital fabrication, achieving precise cuts is crucial. Whether you are using a laser cutter, vinyl cutter, or any other digital cutting machine, setting the correct parameters ensures accuracy and quality. This guide offers practical tips for optimizing cut settings for SVG designs.
Key Factors to Consider
Correct cut settings depend on several factors. Here are the most important ones to consider:
- Material Type: Different materials require different settings. For example, vinyl and cardstock have vastly different thicknesses and densities.
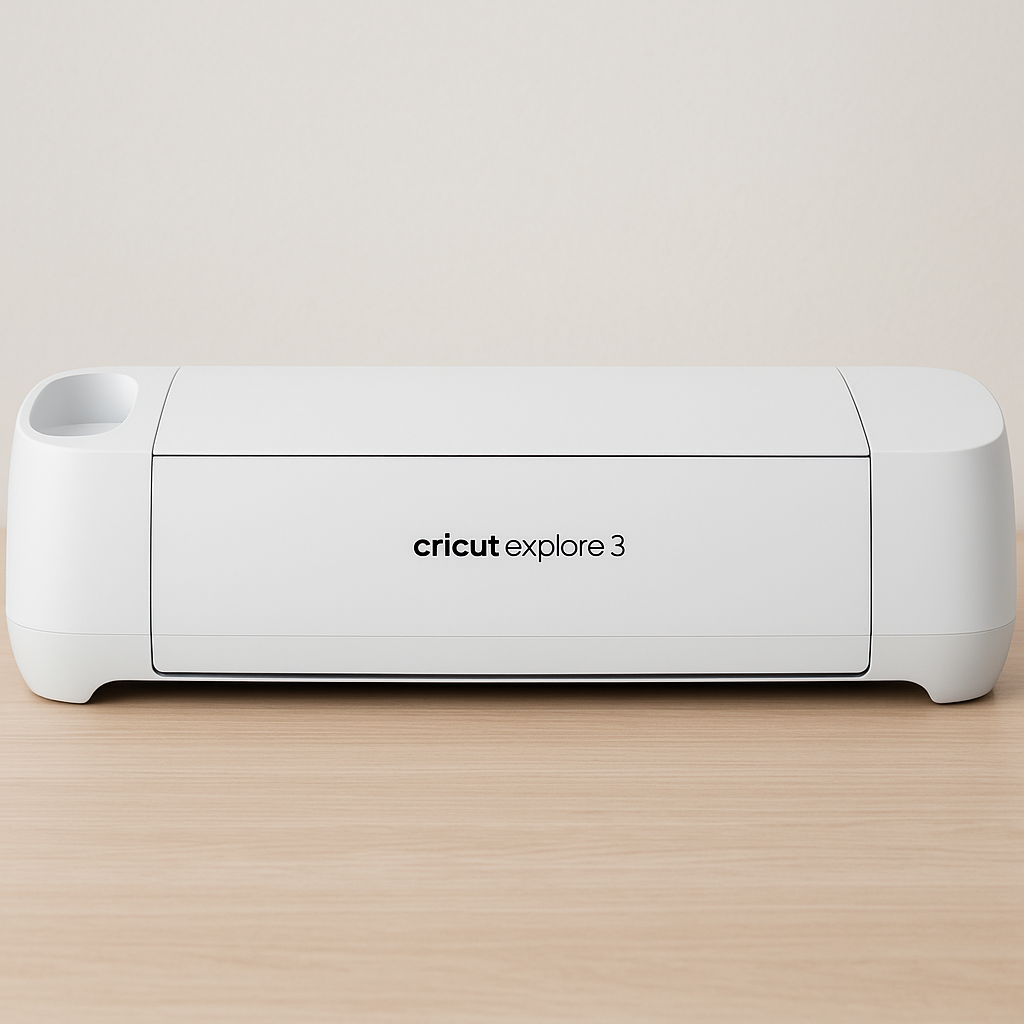
- Machine Type: Each cutting machine has specific capabilities and limitations. Familiarize yourself with your machine’s manual for guidance.
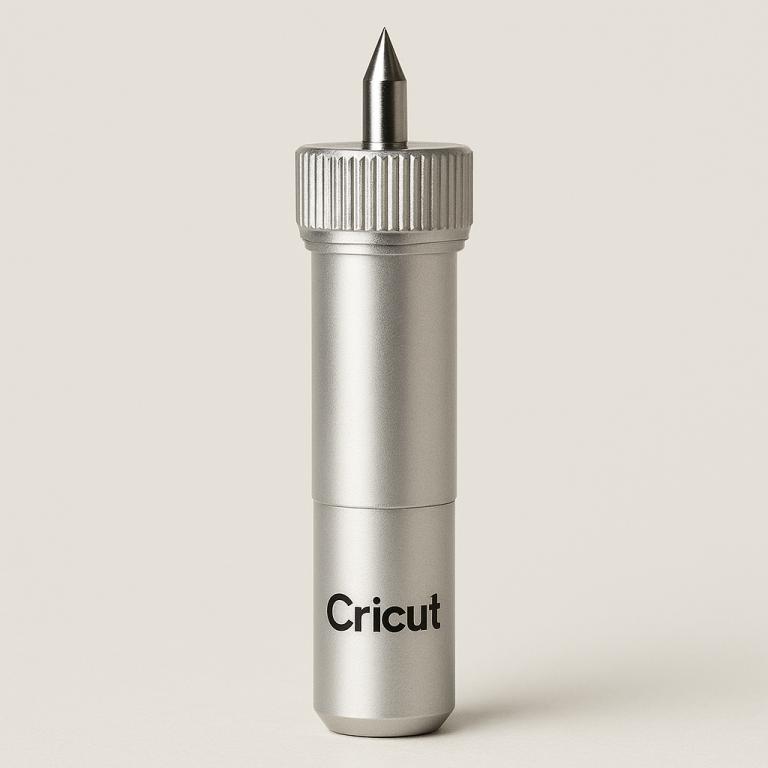
- Blade Type: The type and condition of the blade can influence the cut. A dull blade might require different settings than a new one.
- Design Complexity: Intricate designs may require adjustments to speed and pressure to avoid tearing or incomplete cuts.
Basic Cut Settings
Here is a general guideline for basic cut settings:
- Speed: Start with a moderate speed. A common starting point is around 50% of your machine’s maximum speed. Adjust based on the material and design complexity.
- Pressure: Also known as force, it determines how hard the blade presses down. Begin with a medium setting and test on a small piece of material.
- Blade Depth: Ensure the blade is set to the correct depth for the material. Too deep can damage the material and the cutting mat; too shallow might not cut through.
Testing and Adjusting
Testing is a crucial step in determining the optimal cut settings:
- Conduct a Test Cut: Use a small, simple shape to test your settings on a scrap piece of the same material.
- Evaluate the Cut: Check if the cut is clean and complete. If not, adjust the speed, pressure, or blade depth.
- Iterate: Continue testing and adjusting until you achieve the desired result.
Common Materials and Suggested Settings
Here are suggested settings for some common materials:
| Material | Speed | Pressure | Blade Depth |
|---|---|---|---|
| Vinyl | Medium | Low | Shallow |
| Cardstock | Medium | Medium | Medium |
| Fabric | Low | High | Deep |
Troubleshooting Tips
If you encounter issues, try these solutions:
- Incomplete Cuts: Increase pressure or check blade sharpness.
- Material Tearing: Reduce speed and pressure.
- Blade Dragging: Ensure the blade is correctly installed and not dull.
Final Thoughts
Setting the correct cut settings for SVG designs is a mix of understanding your tools and materials. Always start with recommended settings, conduct test cuts, and make adjustments as necessary. With practice, you’ll develop a keen sense for the optimal settings for different projects.