Butterfly Layered SVG for Paper Crafts: A Complete Guide
Are you captivated by the delicate beauty of butterflies and eager to bring that magic into your paper crafts? Whether you’re a Cricut or Silhouette enthusiast, Butterfly Layered SVG for Paper Crafts files are your gateway to stunning, multidimensional creations. Let’s explore how these versatile digital designs can transform your next creative project!
What Is a Butterfly Layered SVG File?
An SVG file (Scalable Vector Graphic) is a digital image format commonly used in crafting. It stores designs as scalable shapes and lines, meaning you can resize them without losing quality. A layered SVG is specially designed with multiple distinct layers that stack to create depth, dimension, and intricate detail.
When it comes to butterflies, a layered SVG typically features several outlines of butterfly wings and body parts, each intended to be cut from a different color or patterned paper. When assembled, these layers produce a stunning, realistic, and tactile butterfly image that leaps off your card, scrapbook, or home décor project.
Common Uses for Butterfly Layered SVGs
Butterfly Layered SVG files are incredibly versatile for paper crafters. Here are some popular ways to incorporate them into your creations:
- Greeting Cards: Add a three-dimensional butterfly to the front of a handmade card for birthdays, weddings, or anniversaries.
- Scrapbooking: Embellish your layouts with layered butterflies that complement your color scheme and add visual interest.
- Wall Art: Frame a collection of layered butterflies for a stunning display in nurseries, bedrooms, or craft rooms.
- Party Decorations: Create garlands, cake toppers, or centerpieces featuring vibrant layered butterflies.
- Gift Tags: Personalize your presents with a delicate butterfly tag for an extra-special touch.
Best Materials for Layered Butterfly SVGs
Achieving the best results with your butterfly layered SVG for paper crafts depends on choosing the right materials. Here’s what works best:
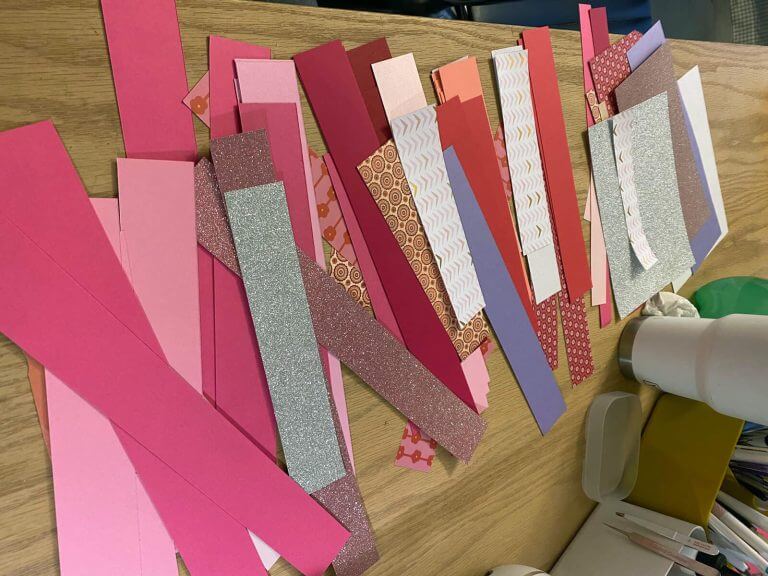
- Cardstock: This is the top choice for most layered SVG projects. Choose a heavyweight cardstock (65-110 lb) for sturdy, crisp layers.
- Glitter Paper: Add sparkle to certain layers for a dazzling effect, especially for special occasions.
- Patterned Paper: Mix in subtle patterns for a whimsical or realistic look.
- Vellum: Use translucent vellum for delicate wing effects or to add a soft, ethereal layer.
- Adhesives: Foam dots or double-sided tape help lift layers and create shadow and dimension.
How to Use Butterfly Layered SVGs with Cricut and Silhouette
Both Cricut and Silhouette cutting machines are perfect for bringing layered SVGs to life. Here’s a step-by-step guide for beginners:
- Download the SVG: Choose a butterfly layered SVG from a trusted source such as SVG Kingdom.
- Upload to Your Software: Open Cricut Design Space or Silhouette Studio and upload the SVG file. The layers should appear as separate elements.
- Resize and Arrange: Adjust the size of the butterfly to fit your project. You can also rearrange layers or duplicate them for multiple butterflies.
- Choose Paper Colors: Assign different paper colors or patterns to each layer for a vibrant, eye-catching result.
- Cut Each Layer: Load your chosen materials onto the mat and cut each layer as prompted by your machine.
- Assemble: Gently stack and adhere the layers, starting from the bottom up. Use foam dots for extra dimension between layers.
- Embellish: Add rhinestones, stickles, or inked edges for extra flair!
Tips for Beginners
- Start Simple: Choose SVGs with fewer layers to practice your assembly skills before moving on to more intricate designs.
- Test Cuts: Use scrap paper for a test cut to ensure your settings are correct and avoid wasting materials.
- Organize Layers: Lay out your cut pieces in order before gluing to avoid confusion.
- Experiment: Try mixing papers, adding ink, or varying foam dot thickness to create unique effects.
- Take Your Time: Precision pays off! Carefully align layers and press gently to prevent warping.
Conclusion
Butterfly layered SVG for paper crafts unlocks a world of creativity for crafters of all skill levels. With the right tools, materials, and a bit of imagination, you can create breathtaking paper butterflies for every occasion. Ready to get started? Explore thousands of SVG designs and let your creativity take flight!
Resources
- SVG Kingdom – 200,000+ SVG Designs
- Cricut Design Space
- Silhouette Studio
- Jennifer Maker: How to Use Layered SVGs
- PaperCrafter Magazine
FAQs
What is a butterfly layered SVG for paper crafts?
It’s a digital SVG file designed with multiple layers that, when cut from paper and assembled, create a detailed, dimensional butterfly for use in various paper crafting projects.
Can I use butterfly layered SVGs with both Cricut and Silhouette machines?
Yes! SVG files are compatible with both Cricut and Silhouette cutting machines, making them perfect for a wide range of crafters.
What paper works best for layered SVG projects?
Heavyweight cardstock (65-110 lb) is ideal, but you can also use glitter paper, patterned paper, or vellum for special effects.
How do I assemble layered SVG butterflies?
Cut each layer from your chosen paper, then stack and adhere them in order using glue or foam dots for dimension.
Where can I find high-quality butterfly layered SVG files?
Check out SVG Kingdom for a vast selection of layered SVG designs.