Introduction to Vinyl on Mugs and Tumblers
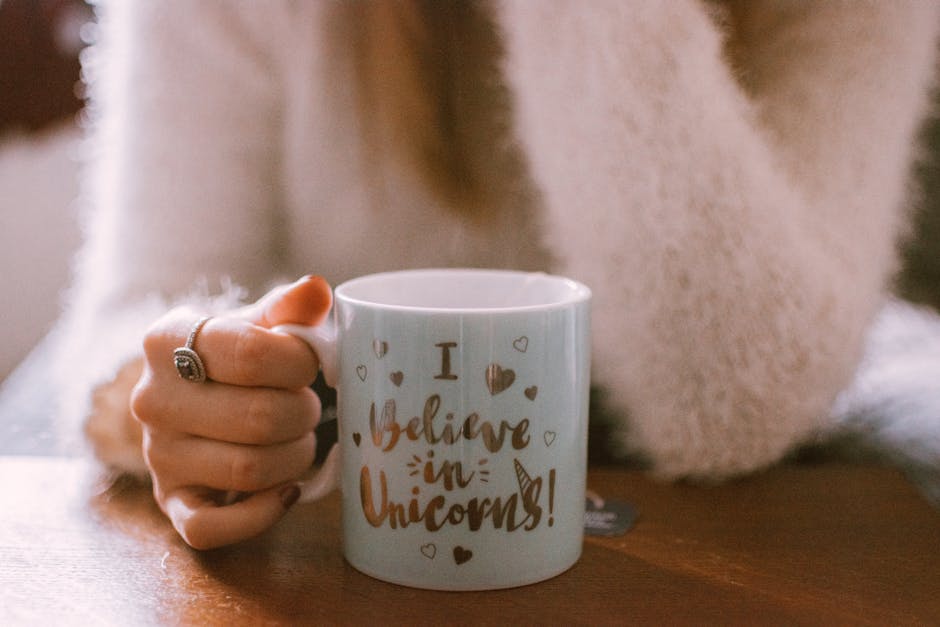
Decorating mugs and tumblers with vinyl is a popular and creative way to personalize drinkware. Whether you’re creating a gift or adding a personal touch to your own collection, vinyl offers a versatile and durable solution. This guide will walk you through the essentials of applying vinyl to mugs and tumblers, ensuring a professional finish.
Materials Needed
- Vinyl: Permanent adhesive vinyl is recommended for its durability and water resistance.
- Transfer Tape: Essential for transferring your vinyl design onto the mug or tumbler.
- Cutting Machine: A Cricut or Silhouette machine is ideal for precise cuts.
- Weeding Tools: Helps in removing excess vinyl from your design.
- Mug or Tumbler: Choose a smooth surface for best results.
- Rubbing Alcohol: Cleans the surface of your mug or tumbler for better vinyl adhesion.
Step-by-Step Application Process
1. Design and Cut
Use design software compatible with your cutting machine to create or import your design. Ensure the design fits well on your mug or tumbler. Cut the design using permanent adhesive vinyl.
2. Weed the Design
After cutting, use weeding tools to remove excess vinyl, leaving only the design you wish to apply. Be patient and precise during this step.
3. Prepare the Surface
Clean the mug or tumbler with rubbing alcohol to remove oils and dirt. This step is crucial for strong adhesion. Allow the surface to dry completely before proceeding.
4. Apply Transfer Tape
Cut a piece of transfer tape slightly larger than your design. Peel the backing off the transfer tape and carefully place it over your vinyl design. Use a scraper tool to ensure the vinyl sticks to the transfer tape.
5. Transfer the Design
Carefully align the transfer tape with the mug or tumbler. Press down firmly, starting from the center and moving outwards to prevent bubbles. Slowly peel back the transfer tape, ensuring the vinyl adheres to the surface.
6. Cure the Design
Allow the vinyl to cure on the mug or tumbler for 24 to 48 hours. This ensures the adhesive bonds properly, making the design more durable.
Care Instructions
- Hand Wash Only: To prolong the life of the vinyl, avoid dishwashers.
- Avoid Soaking: Extended exposure to water can weaken the adhesive.
- Gentle Cleaning: Use a soft cloth or sponge to clean the surface.
Common Mistakes and Tips
- Bubbles Under Vinyl: Use a scraper tool to smooth out bubbles during application.
- Vinyl Peeling: Ensure the surface is clean and allow sufficient curing time.
- Misalignment: Double-check placement before pressing down the vinyl.
Conclusion
Applying vinyl to mugs and tumblers is a fun and rewarding project that allows for endless creativity. With the right materials and techniques, you can achieve a professional-looking finish that lasts. Remember to follow each step carefully, and soon you’ll have personalized drinkware to enjoy or share with others.