Getting Started with Cricut Joy and SVG Designs
The Cricut Joy is a compact, user-friendly cutting machine perfect for beginners looking to create beautiful crafts. Using SVG (Scalable Vector Graphics) designs with your Cricut Joy can open up endless creative possibilities. This guide will walk you through the basics of using SVG files with your Cricut Joy, making your crafting journey smooth and enjoyable.
What is an SVG File?
SVG stands for Scalable Vector Graphics. It is a file format that describes two-dimensional graphics using vectors. SVG files are perfect for Cricut projects because they can be resized without losing quality, allowing for precise and sharp cuts.
Why Use SVG Files with Cricut Joy?
- Scalability: SVG files can be resized to fit your specific project needs without losing quality.
- Precision: The vector format ensures clean and accurate cuts.
- Variety: Access to a vast range of designs available online.
Essential Tools and Materials
Before you begin, gather the following tools and materials:
- Cricut Joy: The cutting machine itself.
- Design Space Software: Cricut’s free software to upload and edit SVG files.
- SVG Files: Download from trusted sources or create your own.
- Materials: Vinyl, paper, or other materials compatible with Cricut Joy.
- Transfer Tape: For vinyl projects.
- Basic Tool Set: Weeding tool, scraper, and scissors.
Step-by-Step Guide to Using SVG Files with Cricut Joy
1. Setting Up Cricut Design Space
Download and install Cricut Design Space on your computer or mobile device. This software is essential for uploading and editing your SVG files before cutting.
- Create a Cricut ID if you don’t have one.
- Log into Cricut Design Space.
- Familiarize yourself with the interface; explore the canvas, toolbar, and design options available.
2. Uploading SVG Files
Uploading SVG files to Cricut Design Space is straightforward:
- Open Cricut Design Space.
- Click on the “Upload” button on the left-hand menu.
- Select “Upload Image” and then “Browse” to locate your SVG file.
- Once uploaded, you can add tags and save it to your library for future use.
- Insert the uploaded design onto your canvas by clicking “Insert Images.”
3. Preparing Your Design for Cutting
Once your SVG file is on the canvas, you can make adjustments to fit your project:
- Resize: Use the corner handles to resize the design to your preferred dimensions.
- Position: Drag the design to position it on the canvas as needed.
- Layering: If your SVG has multiple layers, ensure they are correctly aligned and grouped.
4. Cutting Your Design
With your design ready, it’s time to cut:
- Select “Make It” in Cricut Design Space.
- Choose your material type (e.g., vinyl, cardstock) to ensure accurate cutting settings.
- Place your material on the Cricut Joy mat, ensuring it adheres well.
- Load the mat into the Cricut Joy machine.
- Follow the on-screen prompts to start cutting.
5. Finishing Touches
After cutting, it’s time to finish your project:
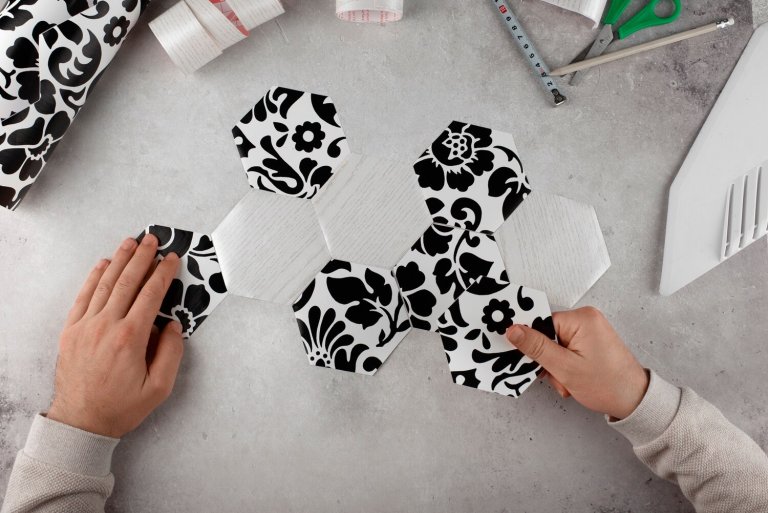
- Weeding: Use a weeding tool to remove excess material from your design.
- Application: If using vinyl, apply transfer tape over your design, then transfer it to your desired surface.
- Final Adjustments: Smooth out any bubbles or wrinkles using a scraper tool.
Tips for Success with Cricut Joy
- Start Simple: Begin with basic designs to build confidence.
- Explore Tutorials: Utilize online resources and tutorials to learn new techniques.
- Experiment with Materials: Try different materials to discover what works best for your projects.
- Keep Tools Handy: Having tools like scissors, tweezers, and scrapers nearby can streamline your process.
Conclusion
Using SVG designs with your Cricut Joy can transform your crafting capabilities, allowing you to create professional-looking projects with ease. By following this guide and practicing regularly, you’ll quickly become proficient in using SVG files and enjoy the creative freedom that Cricut Joy offers.
Happy crafting!