Creating Winter Magic: Using Snowflake SVG Files for Cricut Ornaments and Decor
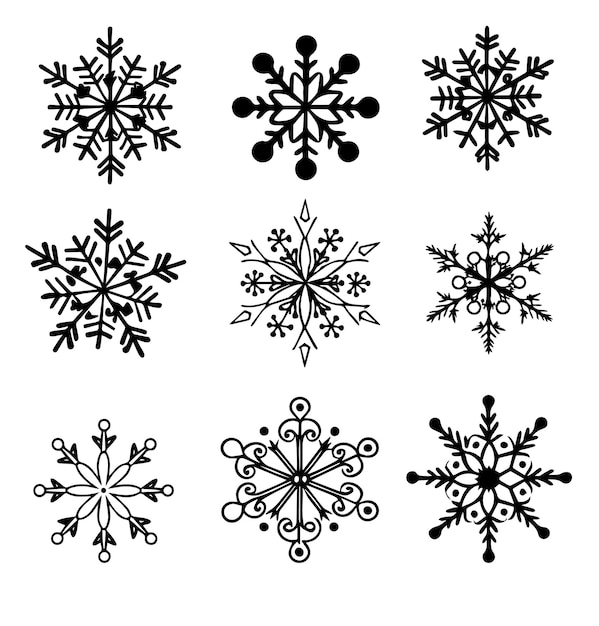
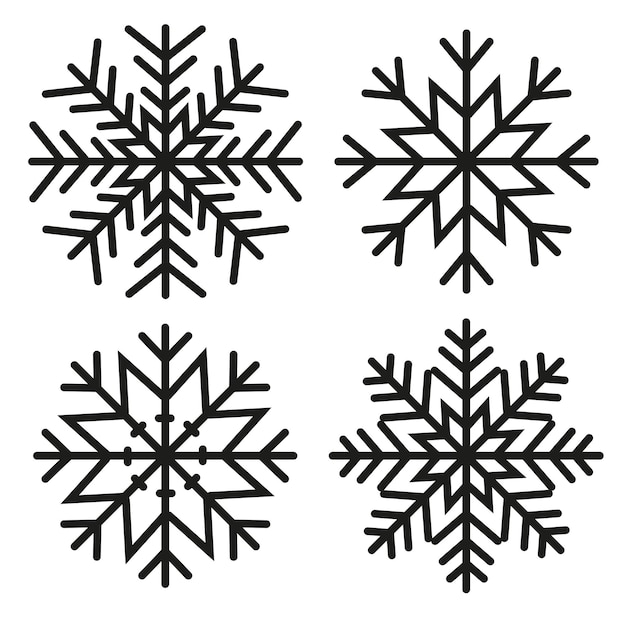
Winter is a time for festive decorations, and snowflakes are a classic motif that perfectly captures the season’s magic. Using snowflake SVG files with your Cricut machine, you can create beautiful ornaments and decor that add a personal touch to your winter celebrations. This guide will help you make the most of your Cricut machine and snowflake SVG files.
What Are SVG Files?
SVG, or Scalable Vector Graphics, files are digital graphics that can be resized without losing quality. They are perfect for use with Cricut machines because they allow for precise cutting and design replication. SVG files can be used to create intricate designs, like snowflakes, which are ideal for winter-themed projects.
Why Use Snowflake SVG Files?
- Versatility: Snowflake designs can be used in various projects, from ornaments to gift tags and window decals.
- Customization: You can personalize each snowflake by choosing different sizes and colors.
- Ease of Use: Once uploaded, SVG files can be easily manipulated in Cricut Design Space.
Getting Started with Snowflake SVG Files
To begin creating your winter decor, you need to gather a few essentials:
- Cricut Machine: Any Cricut model that supports SVG files will work.
- Snowflake SVG Files: These can be purchased online or downloaded for free from various design websites.
- Materials: Depending on your project, you might need cardstock, vinyl, or felt.
- Tools: Basic Cricut tools like a weeder, scraper, and scissors.
How to Upload SVG Files to Cricut Design Space
Follow these steps to upload and prepare your snowflake SVG files in Cricut Design Space:
- Open Cricut Design Space and click on “New Project.”
- Select “Upload” from the left-hand menu.
- Click “Upload Image” and browse your computer for the SVG file.
- Once uploaded, select the image and click “Insert Images” to add it to your canvas.
- Resize and position the snowflake as needed for your project.
Creating Snowflake Ornaments
Snowflake ornaments are a simple yet elegant way to decorate for the winter season. Here’s how you can make them:
Materials Needed:
- Cardstock or glitter paper
- String or ribbon
- Glue or adhesive
Steps:
- Upload and adjust your snowflake SVG file in Cricut Design Space.
- Place your cardstock on the cutting mat and load it into the Cricut machine.
- Send the design to cut by selecting “Make It” in Design Space.
- Once cut, carefully remove the snowflakes from the mat.
- Attach string or ribbon to the top of each snowflake using glue or adhesive.
- Hang your new ornaments on the tree or around the house.
Crafting Winter Decor with Vinyl
Vinyl is a versatile material that can be used to create window decals, wall art, and more. Here’s how you can make use of vinyl with your Cricut:
Materials Needed:
- Adhesive vinyl
- Transfer tape
Steps:
- Upload and adjust your snowflake SVG file in Cricut Design Space.
- Place the vinyl on the cutting mat with the backing side down.
- Use the Cricut to cut the design.
- Weed out the excess vinyl, leaving only the snowflake design.
- Apply transfer tape over the vinyl design.
- Carefully transfer the design to your chosen surface, such as windows or walls.
Inspiration for Snowflake Projects
Looking for more ways to use snowflake SVG files? Here are a few ideas:
- Gift Tags: Create personalized gift tags with snowflake designs for a special touch.
- Table Decor: Use snowflakes as part of a winter table setting, either as place cards or confetti.
- Garlands: String together multiple snowflakes to create a festive garland.
Tips for Success
To ensure your projects turn out beautifully, consider these tips:
- Test Cut: Always do a test cut with a small section of your material to ensure settings are correct.
- Material Choice: Choose the right material for your project—glitter paper for sparkle, vinyl for durability.
- Design Complexity: Start with simpler designs if you’re new to using Cricut and SVG files.
Conclusion
Using snowflake SVG files with your Cricut machine opens up a world of creative possibilities for winter decor. Whether you’re making ornaments, decals, or table settings, these designs add a personal and festive touch to your home. Embrace the beauty of winter with your unique creations!